
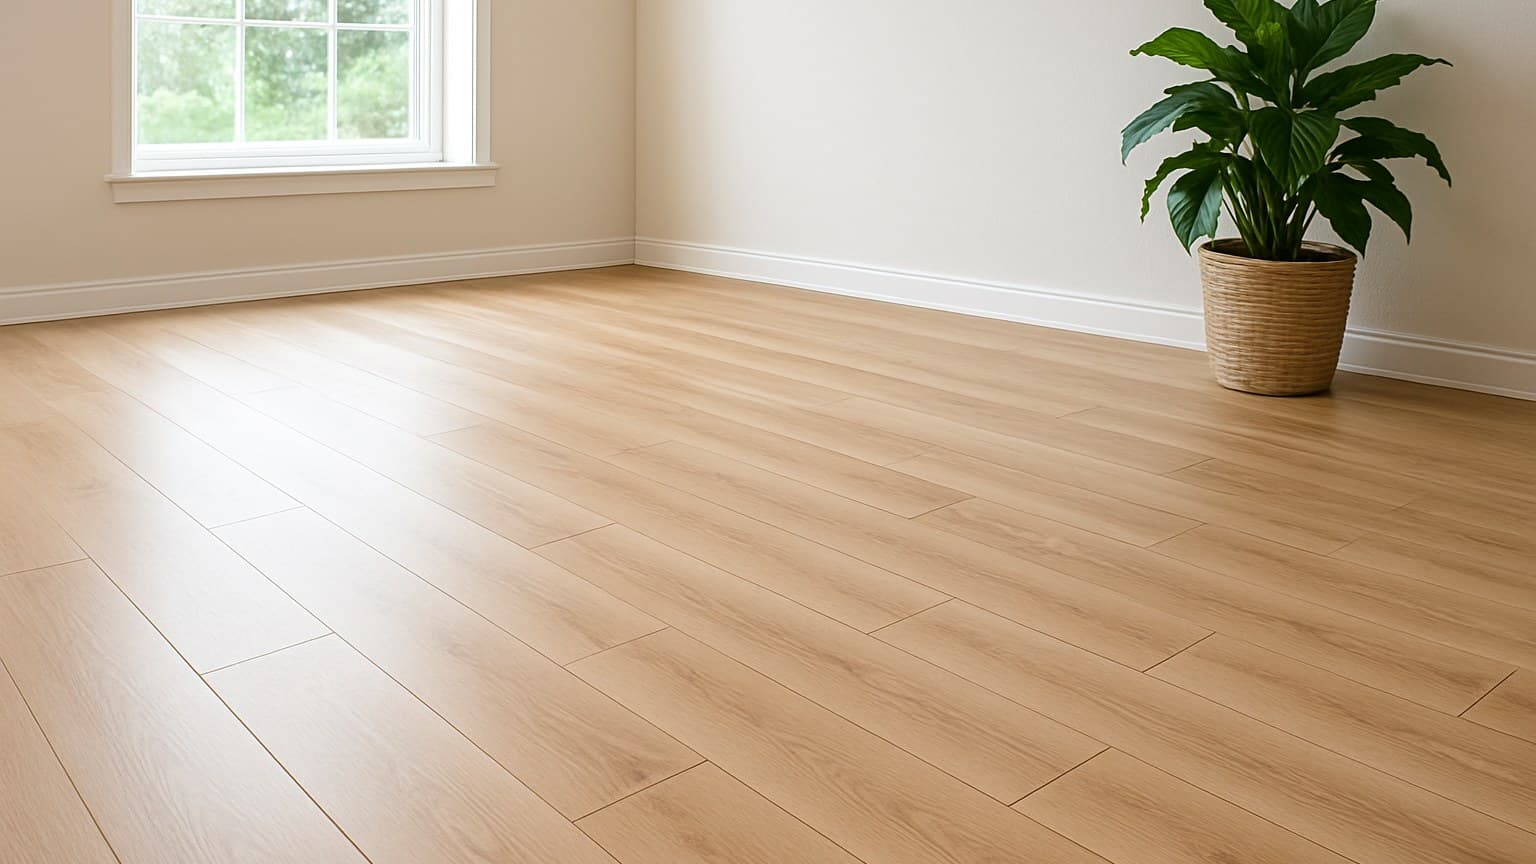
When Marla Chen in Dayton, Ohio called me back eight months after I installed her maple-look vinyl because every seam was curling, the sample she'd picked at the store had hidden every one of the six tells that would've warned her. A single sample plank is built to flatter itself, so it looks convincing until a whole room of it is down and glued. These six checks catch the tell at the sample box, before you're stuck with it.
Key takeaways
- Fastest tell: slide the sample planks side by side and count how far you get before the exact same board repeats. Realistic maple runs a dozen or more unique planks; cheap stuff repeats every 4-6.
- In-register embossing (surface texture that dips into the printed grain lines) is what separates believable maple from a flat photo under plastic.
- Wear layer is measured in mils. Read the number off the named product's spec sheet, and match more mil to more traffic; it decides scratch life, not looks.
- Most maple LVP fails at the seams, not the plank face, even when the core is sold as waterproof. Check for tight locking edges and a painted bevel.
- Matte, low-sheen maple hides scuffs and reads like real wood. Wet-looking gloss shows every footprint and looks plastic under kitchen light.
Tell #1: Count the Pattern Repeat
The fastest way to spot cheap maple vinyl is to slide several planks side by side and count how far you get before the exact same board face repeats. Realistic maple lines run a dozen or more unique faces. Cheap ones recycle the same 4-6 photos over and over.
Maple's grain is already tighter and quieter than oak or hickory, so a short repeat jumps out fast. Your eye catches the same little knot or dark streak showing up three rows over, and once you see it you can't unsee it across a whole floor.
On the box, look for a stated number of plank variations or "unique faces." No number listed usually means a short repeat the maker isn't proud of.
This check is easy to skip, because a lone sample plank hides it completely. You have to see three or four planks together to catch it.
Tell #2: Embossing That Follows the Grain, Not Just Texture
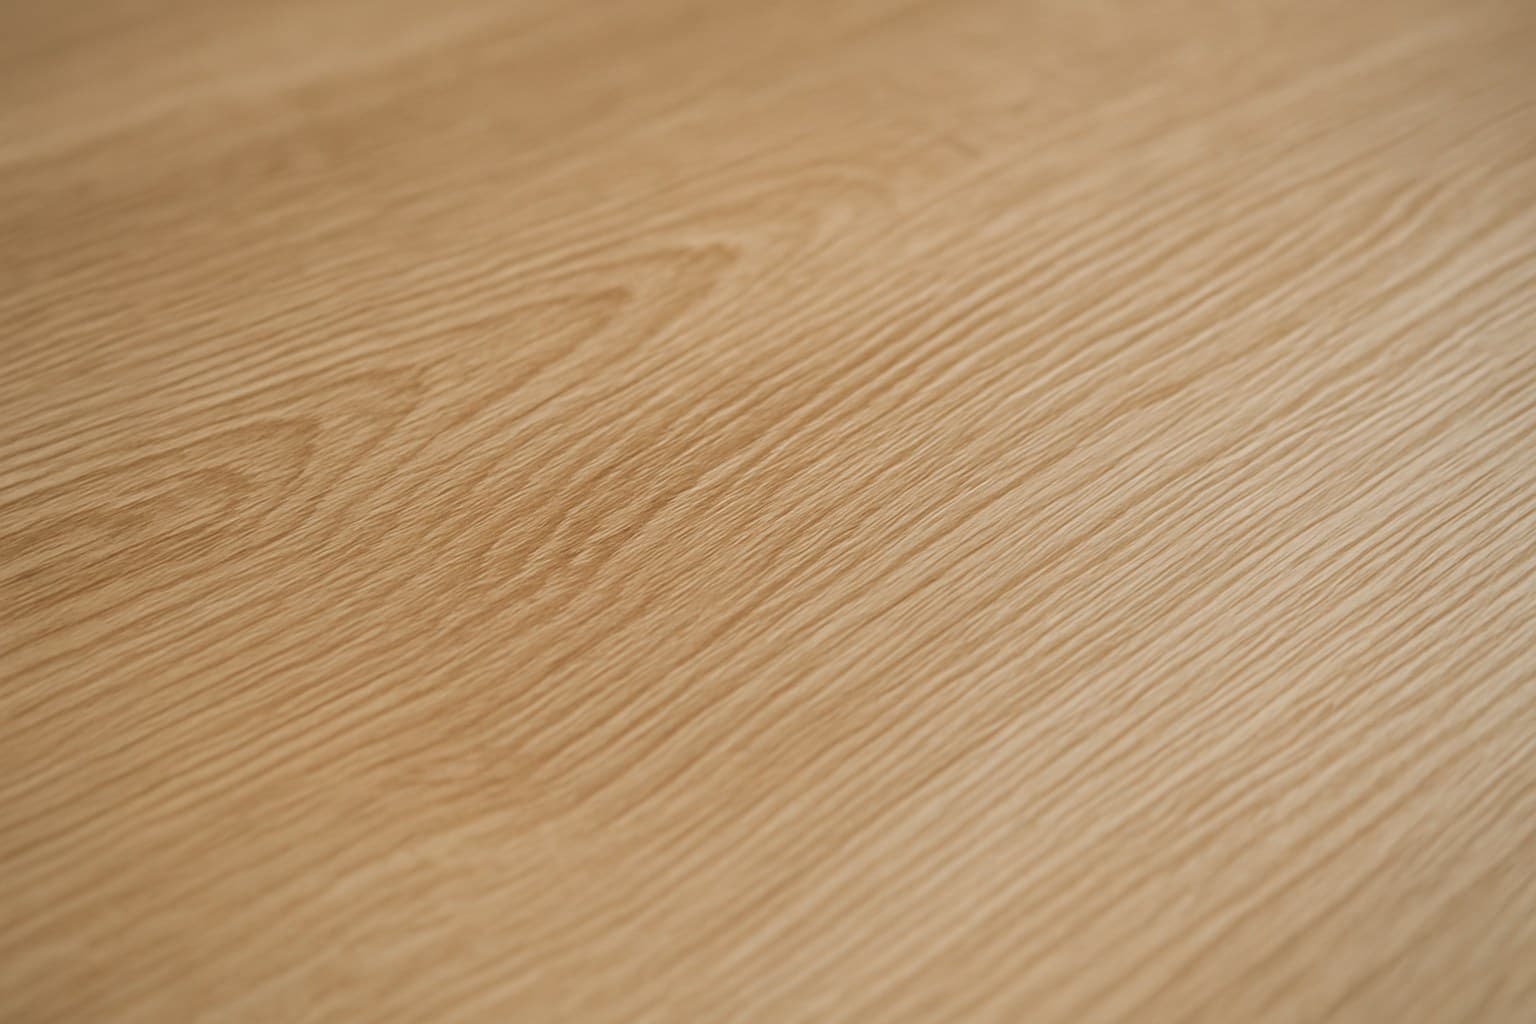
Good maple vinyl has surface texture that dips right into the printed grain lines. Run a fingertip along a grain line and you should feel the groove track the drawing. That's called embossed-in-register, or EIR, and it's what separates believable maple from a flat photo trapped under plastic.
Cheap planks have texture too, but it's a generic repeating pebble or slate pattern that has nothing to do with the printed maple underneath. Under raking light it reads as two separate layers, one you see and one you feel, and they don't line up.
Maple's character is subtle, so a mismatched texture kills the illusion fast here. If you want to compare how a bolder grain handles the same test, see how hickory vinyl plank stacks up against the real thing.
Tilt the sample toward a window. Registered embossing catches light along the grain and looks like wood grain should. A flat photo under gloss just glares back at you.
Tell #3: Wear Layer Mil, Read Off the Actual Box
The wear layer is the clear top coat that takes the scratches, and it's measured in mils (thousandths of an inch). Thicker means longer scratch life, not a better-looking floor. Read the number off the specific product's spec sheet, never off a vague "durable" claim on a marketing sticker.
Home Depot's Lifeproof lines and COREtec both publish their mil numbers, and the figure can swing widely between a maker's budget and premium lines. A cheap line and a good line from the same brand can wear completely differently, and the only way to know is the printed spec.
Match mil to traffic, not to price alone. A low-traffic bedroom gets by on a thin layer, while a busy kitchen or a house with dogs wants more. Wear layer and mil are a big part of what decides whether vinyl lasts 5 years or 20.
Here's a rough guide for how much wear layer to aim for by room:
| Room traffic | Suggested wear layer |
|---|---|
| Light bedroom traffic | 6 mil |
| Busy family floor | 12 mil |
| High traffic / pets | 20 mil |
| Heaviest residential | 28 mil |
That range mirrors general wear-layer tiers used across residential vinyl lines, match the number to your busiest room, not the price tag.
One more thing on pale maple: bright, sun-soaked rooms punish light shades. A thin wear layer plus fading is a double problem there, so a sunny room is the last place to cheap out on mil.
Tell #4: Edge and Seam Treatment (Where Maple LVP Fails First)
The maple vinyl I tore out of Denise Carroll's Rochester kitchen didn't fail on the plank face. It failed at the seams. A waterproof core does nothing if water and grit sneak into the joint between boards, so the seam is where you should look hardest.
On the sample, click two planks together and study the seam. A good one has a painted micro-bevel, a small colored groove that hides the joint line, plus a locking edge that pulls tight with no daylight showing through.
Cheap planks meet with a raw square edge and a loose click. That gap is where scuffing, peaking, and moisture all start. Once grit works into a loose joint, the boards grind against each other every time you walk over them.
Keep two promises separate in your head: "waterproof core" and "water-resistant seams" are not the same thing. The core surviving a spill and the joint surviving a spill are two different claims, and usually only the flashier one is printed big on the box.
Tell #5: Flip It Over and Check the Backing
Turn the sample over. A solid backing is thick, even, and bonded tight to the core. On cheap planks it's thin, patchy, or already peeling at a corner, which tells you how the rest was made.
An attached pad, a foam or cork layer stuck to the back, is a nice extra for sound and for smoothing small subfloor bumps. But it doesn't replace prep and it hides nothing. Don't let it talk you out of the base work.
Before any of this goes down, check the subfloor: it has to be flat and dry. Run a straightedge across it to find high and low spots, and put a moisture meter (a small tool that reads how wet the slab or wood is) on any concrete. A floating floor only lasts as long as the flat, dry base under it, and no plank on earth fixes a wet slab.
While you've got the sample in hand, feel its total stiffness. A board that flexes like a playing card will telegraph every dip in the subfloor, and every one of those dips becomes a soft spot underfoot.
Tell #6: Matte Finish vs Plastic Gloss
Hold the sample flat under a bright light. A matte or low-sheen finish scatters the light and reads like real maple. A wet-looking gloss throws a hard shine that reads plastic across a whole room.
Gloss also shows everything. Scuffs, footprints, dust, and fine scratches all pop under a shiny top coat, while matte hides that same wear. Under kitchen light, a glossy floor looks smudged an hour after you mop it.
This matters more on pale maple than on dark woods. The bright tone plus a mirror finish is exactly the combination that makes a floor look like a laminate sample from the '90s.
There's no durability tradeoff here worth losing sleep over. Sheen is mostly a looks-and-upkeep call, so pick the one that reads real to you and cleans up easy.
Good vs Cheap Maple Vinyl at a Glance
Run all six tells together and the pattern is obvious. A quality plank passes most of them; the regret plank fails three or more. Here's the whole checklist side by side:
| Check | Good maple LVP | Cheap maple LVP |
|---|---|---|
| Pattern repeat | 12+ unique faces | repeats every 4-6 |
| Embossing | in-register, follows the grain | generic texture, mismatched |
| Wear layer | mil listed on the spec sheet | vague "durable" only |
| Seams | tight lock, painted bevel | loose click, raw edge |
| Backing | thick, bonded tight | thin, peeling |
| Finish | matte, low sheen | wet-look gloss |
Source: This is the split I see comparing the maple LVP I've torn out against the boxes that actually held up
Price is a rough proxy, not proof. I tore out a $6-a-square-foot maple floor from Denise Carroll's Rochester kitchen that failed at the seams within a year, and I've laid $2 budget planks in a rental unit that held up fine for years because the basics were right.
On cost, plan for two numbers, not one. Maple LVP materials usually run about $2-5 per square foot, and install labor another $2-4 per square foot. Glue-down jobs, stairs, and basements all cost more than an open room, and basements add moisture testing on top. I used to quote flat by the square foot until a job full of closets, doorways, and a bay window ate a whole extra day. The open middle of a room is never where the time goes; the cut-heavy edges are. If real wood is still on the table for that room, it's worth running the same cost math against choosing solid vs engineered hardwood floors before you commit to vinyl.