
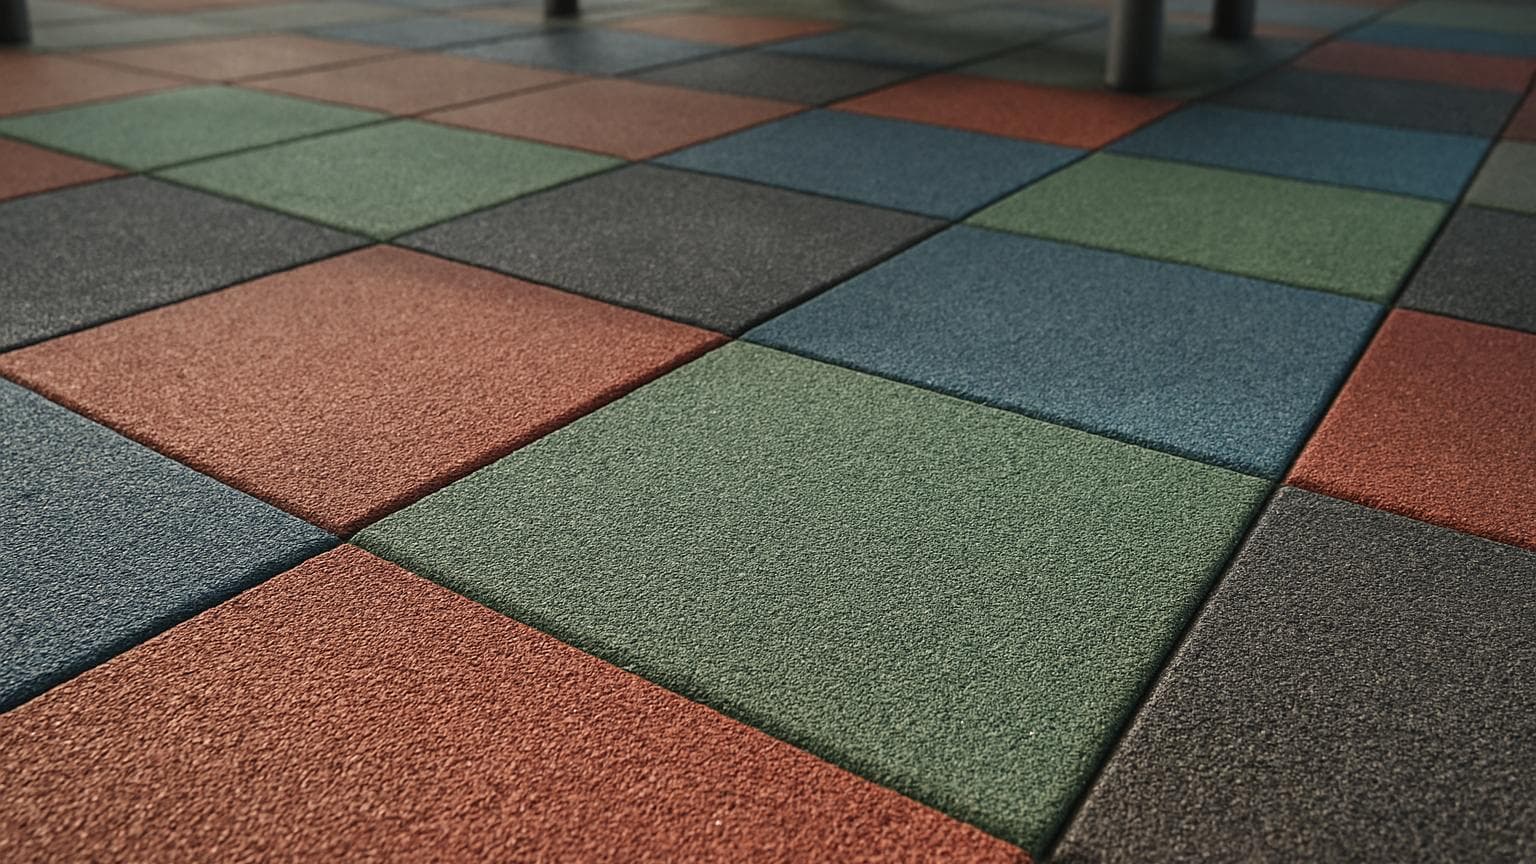
For a backyard swing set or a public playground, the best heavy duty outdoor rubber mat is an EPDM-topped tile tested under ASTM (American Society for Testing and Materials) F1292, with a Critical Fall Height rating that matches or beats your equipment's tallest point. Look for IPEMA (International Play Equipment Manufacturers Association) certification on that exact product before you buy, because it's the only proof the tile actually passed the impact test instead of just claiming a rating. If you're not sure where to buy outdoor rubber tiles that actually carry that certification, start with suppliers who post the IPEMA paperwork alongside the listing rather than just a marketing claim. Skip that step and you can spend good money on a mat that looks tough but doesn't do the one job it has: catching a fall.
Key takeaways
- The one number that matters is Critical Fall Height (CFH) from the product's own ASTM F1292 test report, not how tough the mat looks. Look for IPEMA certification to prove it passed.
- Match thickness to your equipment's fall height: a set you can fall 8 feet from usually needs about a 4 to 4.25 inch rubber tile, not a 1.5 inch mat.
- An SBR (recycled black rubber) base with an EPDM (colored, UV-stable) top layer holds its color outdoors; all-SBR is cheaper but fades and chalks in sun.
- Budget roughly $8 to $16 per square foot for standard tile materials, $12 to $20 for IPEMA-certified tiles, plus $2 to $6 per square foot labor.
- A backyard set is a recommendation; a school or park playground is legally held to CPSC and ASTM, so certification and thickness are not optional there.
What "Heavy Duty" Actually Means for a Playground Mat
"Heavy duty" gets stamped on a lot of mats that would not pass a real fall test. What makes a playground mat genuinely tough is thickness, density, and a properly bonded base, not a rugged tread pattern.
Most outdoor playground tiles are built from two rubbers. The base is SBR, which is recycled black tire rubber, cheap and strong. The top is a thin wearing layer of EPDM, a colored rubber made to hold up in sunlight. That split matters outdoors: a solid-color tile made only from dyed SBR will fade and chalk (turn dusty and pale) after a few summers. An EPDM-capped tile keeps its color longer.
Density and a bonded base are what stop a tile from shifting, curling, or getting pried apart by freeze-thaw, which is water soaking into the rubber, freezing, and expanding until it forces the mat open. Heavier, denser tiles resist all three.
One spec you'll see is Shore A hardness, which is just a measure of how firm the rubber feels. Firmer isn't safer. A harder mat can actually cushion less, so don't read "dense and tough" as "protective." Only the tested fall-height rating tells you how well it catches a fall.
Recycled content is a real environmental win, and I like specifying it. But it has nothing to do with whether a mat passes an impact test, so never let a high recycled percentage stand in for a safety number.
The CPSC and ASTM Standards Your Mat Has to Meet
According to the CPSC (Consumer Product Safety Commission) Public Playground Safety Handbook (2025), the rulebook sets how much fall protection a surface needs and how big the safe zone around equipment has to be. The CPSC's Playground Surfacing standards page lays out the ASTM standards that back those rules up.
Here's what each one does, in plain words:
| Standard | What it governs |
|---|---|
| CPSC Public Playground Safety Handbook | The overall rulebook: required fall-height protection and safe use zones around equipment |
| ASTM F1292 | Impact test that assigns the surface its Critical Fall Height rating |
| ASTM F1487 | Playground equipment safety, including how the equipment's fall height is measured |
| ASTM F3012 | Loose-fill rubber mulch performance (the alternative to bonded mats) |
| ASTM F1951 | ADA accessibility, so a wheelchair can cross the surface |
| IPEMA certification | Third-party proof a specific product actually passed F1292/F1487 |
Source: the CPSC Public Playground Safety Handbook and the ASTM F-series tests it points to
The one number to hunt for is the Critical Fall Height, or CFH, from the ASTM F1292 test. It tells you the highest fall the surface was proven to cushion.
IPEMA certification is your shortcut to trusting that number. IPEMA is an independent group that verifies a specific product actually passed F1292 and F1487, so you're not just taking the seller's word. Ask for the certificate by exact product name and thickness. If they can't produce it, treat the CFH claim as marketing.
The stakes aren't the same everywhere. For a school, daycare, or public park, meeting CPSC and ASTM is legally required and gets inspected. For a backyard, no inspector is coming, but these are still the target to aim for, since they're the difference between a bruise and a broken arm.
Match Thickness to Your Equipment's Fall Height
The core rule is simple: measure the highest point a child can stand on or hang from on your equipment, that's its fall height, then buy a mat whose tested Critical Fall Height meets or beats it.
Use this as a starting-point lookup, then confirm against the real report:
| Equipment fall height | Typical tile thickness |
|---|---|
| Up to 4 ft (toddler climbers, low decks) | About 2.5 in |
| Up to 6 ft (small slides, low swings) | About 3.25 in |
| Up to 8 ft (mid-size play sets) | About 4 in |
| Up to 10 ft (larger swing sets, tall decks) | About 4.25 in |
| Up to 12 ft (large commercial structures) | About 4.5 in or thicker, verify the F1292 report |
Note: These are typical, illustrative thickness figures based on common manufacturer ASTM F1292 test results, not a guarantee for any specific product. The specific tile's own F1292 report is what actually governs, and you should confirm it against the fall-height protection called for in the CPSC Public Playground Safety Handbook (2025).
These are typical values only. The specific product's F1292 report is what actually governs, because two 3.25 inch tiles from different makers can test to different fall heights. When the inch number and the CFH disagree, the CFH on the test report wins every time.
Here's how the tested fall height climbs with thickness:
| Tile thickness | Tested critical fall height |
|---|---|
| 2.5 in | 3-4 ft |
| 3.25 in | 5-6 ft |
| 4 in | 7-8 ft |
| 4.25 in | 9-10 ft |
| 4.5 in | 11-12 ft |
For tall equipment or long accessible ramps, poured-in-place rubber can reach higher fall heights than tiles and leaves no seams to trip on, though it costs more and needs a pro. If you're weighing that route, the cost of rubber surfacing per square foot is worth checking before you commit.
Commercial vs Residential: Which One You Actually Need
The line is about who holds you accountable. A backyard swing set is your own call, so you set the bar. A school, daycare, HOA, or public park playground is legally held to CPSC and ASTM, gets inspected, and carries real liability if it falls short.
| Factor | Residential backyard | Commercial / public |
|---|---|---|
| Meeting CPSC/ASTM | Smart target, not enforced | Required and inspected |
| IPEMA certification | Nice to have | Usually required by the buyer or code |
| Thickness driver | Your set's fall height | Fall height plus heavy daily traffic |
| Traffic | A few kids | Dozens to hundreds a day |
| Typical budget | Lower, smaller area | Higher, certified product and pro install |
Source: how I scope a backyard set against a school or park job
Note: Requirements drawn from the CPSC Public Playground Safety Handbook (2025); specific certification requirements and enforcement vary by jurisdiction, buyer, and local code, so confirm with your local authority or playground equipment distributor.
My honest take by buyer: if you're a parent covering the zone under a backyard set, don't overpay for a fully certified commercial spec, but do size the thickness to your set's real fall height. That's cheap insurance, because right under the equipment is exactly where kids land. Sizing up one tile grade costs a little; a trip to the ER costs a lot. If the interest goes beyond the yard, this guide to rubber tiles for home use covers where else the same material makes sense around the house.
If you manage a facility, don't under-buy. Skipping certification to save a few dollars a square foot puts the liability on you, and an inspector can make you tear it out.
Installing and Maintaining It Outdoors
Prep decides everything, so start there, not with laying tile. The base has to be flat and it has to drain. Skip that step and the tile will lift, gap, or pool water within a season, no matter how good the mat is, outdoor rubber is no different. Run a straightedge across the base to catch humps and dips, and make sure water runs off a compacted stone or concrete base instead of pooling under the mat.
Interlocking tiles can sit loose over a flat, hard, well-drained base, which is what makes them realistic for a DIYer, and the same logic applies indoors if you're weighing rubber flooring for a home gym instead of a backyard. Glued-down tiles and poured-in-place need more skill and are usually worth hiring out. Either way, the seams are where outdoor rubber fails first, since water and freeze-thaw work the edges, so keep joints tight and follow the maker's edge and adhesive instructions.
Maintenance is light. Sweep off leaves and grit, rinse it down, and check the perimeter and seams each spring for lifting or gaps. Reseat or re-glue any edge that has crept before it curls.
On budget, split it into two parts. Standard tile materials run roughly $8 to $16 per square foot, and IPEMA-certified tiles more like $12 to $20. Labor adds about $2 to $6 per square foot for a straightforward install, more for glue-down, tight cutwork around posts, or poured surfacing. If you want the interlocking route broken down further, see how much rubber tiles cost and the guide to outdoor rubber interlocking tiles before you order.