
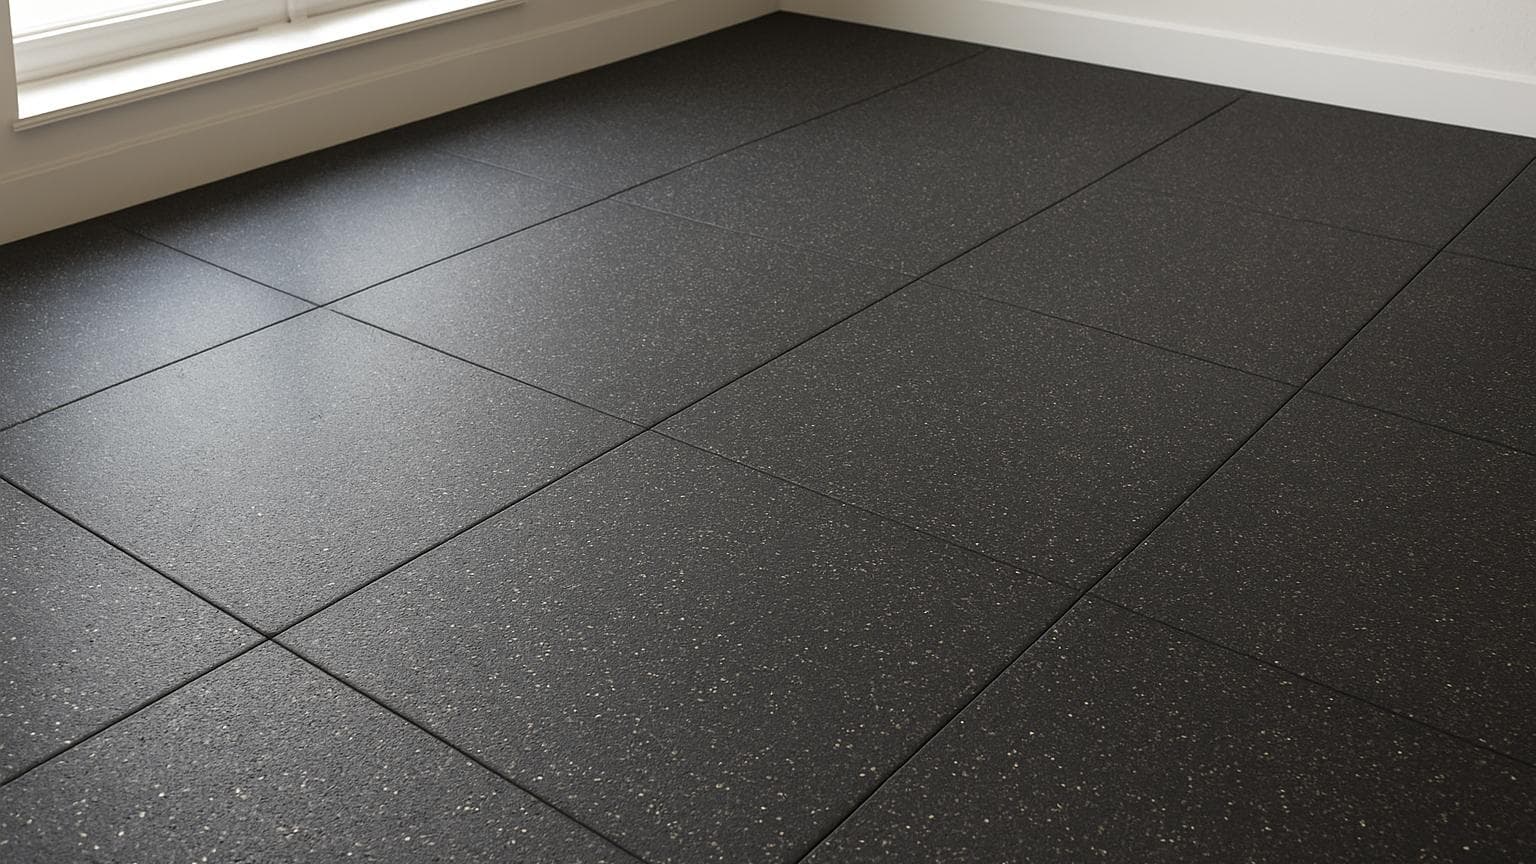
Rubber tile isn't just a gym floor. It earns its keep in basements, playrooms, laundry rooms, mudrooms, and covered patios, rooms where you want cushion, grip, and tolerance for spills or grit. It's the wrong call in kitchens, living rooms, and bedrooms, where dents and a cold, rubbery look work against you. Here's every room scored on thickness, water tolerance, and cost per square foot, so you can see exactly why.
Key takeaways
- Rubber tiles earn their keep in basements, playrooms, laundry rooms, mudrooms and covered patios; they're a weak fit for kitchens, living rooms and bedrooms.
- Interlocking rubber tiles run about $2-5 per sq ft in materials; glue-down tiles $4-8, with pro labor adding roughly $1-5 per sq ft depending on loose-lay vs glue-down.
- Go thicker (8mm and up) where weights drop or heavy furniture bites in; thinner mats are fine for plain foot traffic.
- Loose-lay interlocking tiles are realistic DIY over a flat, dry slab; glue-down and damp basements are where hiring out pays off.
- New rubber, especially recycled crumb rubber, can smell at first; air it out with ventilation before you judge it.
Which Rooms Rubber Tiles Actually Belong In
Rubber tiles win in basements, playrooms, laundry rooms, mudrooms, and covered patios. They lose in kitchens, living rooms, and bedrooms. That's the short version, and the rest of this article shows the numbers behind it.
Here's the rule that sorts every room: rubber earns its spot where you want cushion, grip, and tolerance for spills or grit. It fails where you want a warm, flat, furniture-friendly floor that looks like wood or feels like carpet.
Most guides never get you there. They treat rubber as a gym accessory, so a homeowner trying to floor a laundry room or a basement office gets a squat-rack sales pitch instead of a plain room-by-room answer. I've fitted rubber in enough of these spaces to give you the straight version, scored on thickness, water tolerance, and cost per square foot.
Room-by-Room Scorecard
Scan this first, then read the detail for your room below. "Interlocking" means tiles that snap together at the edges like puzzle pieces, so no glue is needed and a damaged one lifts out. Thickness is in millimeters (mm).
| Room | Thickness needed | Water tolerance | Materials cost / sq ft | Verdict |
|---|---|---|---|---|
| Basement | 5-8mm (Greatmats' Home Rubber Tile), 8mm+ if it doubles as a gym (Greatmats' 8mm Elite Gym Tile) | Good, but only over a dry slab | $2-5 (interlocking) | Strong fit |
| Playroom | 8-10mm (Greatmats' 10mm SoftTile) for cushion | Fine for spills and wipe-ups | $3-6 | Strong fit |
| Laundry | 5-8mm (same Home Rubber Tile line) | Handles drips; seams are the weak point | $3-6 | Good fit |
| Mudroom | 6-8mm (Greatmats' Mudroom-rated tile) | Great for slush, salt, and grit | $3-6 | Good fit |
| Covered patio | Outdoor-rated product only | Good where it can drain | $3-8 | Good if rated for outdoor use |
| Kitchen | n/a | Okay, but look and dents fail it | n/a | Skip |
| Living room / bedroom | n/a | n/a | n/a | Skip |
Source: the rubber-tile rooms I've fitted
Rubber tiles scored by room on thickness, water tolerance, and materials cost.
Two caveats live inside that table. A patio tile must be sold as outdoor-rated, or sun and freeze-thaw will curl it — for the material specifics and a full rundown on installing in exposed spots, see the guide to using rubber tiles outdoors. And a basement only scores "strong" if the slab reads dry, which I'll cover at the end. If you're weighing tiles against planks for these same rooms, the tradeoffs shift a little, and I break those down in 8 Things to Settle Before You Buy Rubber Plank Flooring.
The Rooms Where Rubber Tiles Win
Basement (and basement gyms)
A basement is rubber's best room in the house. It puts cushion and a little warmth between your feet and cold concrete, and it holds up to the damp, gritty life a basement floor lives.
It's also the obvious pick when the room doubles as a workout space. Thickness steps up here: for plain foot traffic, a 5-8mm tile is plenty, but where weights drop you want 8mm and up. For a home gym I steer people to the thicker tile only under the squat rack or drop zone and let them save money with the thinner mat everywhere else, paying for full thickness across the whole room is often wasted money. If the gym is the main use, my thickness breakdown for home gyms walks through what actually stops cracks and noise.
Playroom and kids' spaces
Soft landings and easy cleanup are exactly what rubber does best, which makes a playroom a natural fit. Go with something in the 8-10mm range for real cushion under a falling toddler, and if you need that same fall protection to survive rain and sun outside, our outdoor playground rubber mat guide covers the thicker, weather-rated options and the safety standards that apply there.
Use interlocking tiles here. When a kid destroys one square with a marker or a dropped juice cup, you pop that one out and swap it, instead of redoing the floor.
Laundry and mudroom
Both rooms play to rubber's grip and grit tolerance. In a laundry room it stays sure-footed when water gets on the floor; in a mudroom, slush, salt, and sand wipe up instead of grinding scratches into the finish.
Watch the seams near a washer. The tile surface handles drips fine, but standing water can work into the joints between tiles over time, so keep the area dry and don't let a slow leak sit.
Covered patio
Rubber works on a covered patio only if the tile is sold as outdoor-rated and the surface lets water drain, and if you're weighing options for that space, our rubber interlocking tiles outdoor guide walks through what to look for in an outdoor-rated product. An indoor tile out here will fade, curl, or trap water under it.
This is also where people want the look, not just the function. The decorative coin-pattern tile, with raised round studs, is a popular choice outdoors; I get into where that finish makes sense in the rubber coin flooring guide.
The Rooms to Skip Rubber Tiles
Kitchens, living rooms, and bedrooms are where I talk people out of rubber. The reason is about dents and looks, not durability.
In a kitchen, a heavy fridge foot or a bar-stool leg presses lasting dimples into softer rubber, and the finish rarely suits the room anyway. You're better served by tile, luxury vinyl plank, or a good sheet vinyl that takes a point load without denting.
Living rooms and bedrooms fail on the same two counts. People want warmth and a wood or carpet look underfoot, and a heavy couch or bed frame will leave indents that don't spring back. For those rooms, hardwood, laminate, carpet, or LVP all beat rubber on comfort and appearance. Rubber is a workhorse floor, put it where the room needs a workhorse.
What Rubber Tiles Cost, Room by Room
Split every quote into two numbers: the tile and the labor. The table below breaks out both, loose-lay versus glue-down, so you can see where a quote should land. Glue-down runs higher on both counts because the work is slower and less forgiving than snapping tiles together.
| Line item | $ per sq ft |
|---|---|
| Loose-lay labor (pro) | $1-3 |
| Interlocking tile (material) | $2-5 |
| Glue-down labor (pro) | $2-5 |
| Glue-down tile (material) | $4-8 |
Cost ranges per square foot for rubber tile materials and pro labor, loose-lay versus glue-down.
Room type moves the labor number more than the tile does. A basement usually costs more than an open upstairs room because of the moisture prep the slab needs first, and cut-up spaces, stairs, or a patio with lots of edges add cut-and-fit time. The line items buyers forget are adhesive on glue-down jobs, transition strips at doorways, and waste from trimming tiles around a room full of corners, easily 5-10% extra material. For a full quoting walkthrough, see the rubber flooring installation cost guide and how much rubber tile costs.
Smell and Cleanup: The Part Product Pages Skip
Yes, new rubber can smell, especially recycled crumb rubber, which is ground-up recycled tire. That odor fades with ventilation, over a stretch that varies by product and airflow, so it's rarely a defect even though it can be strong out of the box.
Handle it in order. Unbox the tiles and lay them out in a ventilated room before you commit to the final install, then run fans and open windows and give the smell days, not minutes, to clear before you decide anything is wrong with the product.
Day-to-day cleaning is easy. Damp mop with a mild cleaner and skip harsh solvents, which break rubber down over time. Near seams, dry any standing water so it can't work its way underneath and lift a tile. Low-odor rubber types exist too, and the differences between them are covered in the main rubber flooring guide.
Moisture and Subfloor, Room by Room
Before a single tile goes down, check two things: is the floor flat, and is it dry. Lay a long straightedge (a 6-10 foot level or straight board) across the floor and look for gaps under it that mark high and low spots, and check the slab for moisture. Professional installers commonly follow ASTM International's standardized test methods, such as ASTM F2170, used to measure in-situ relative humidity in concrete slabs, before committing a floor to a damp-prone room. A damp basement slab is a common reason these floors fail.
What matters shifts by room. In basements and on patios the fight is moisture and drainage. In open upstairs rooms it's mostly flatness, since a ridge or dip telegraphs right through a thin tile and shows as a lump or a rocking seam. When that patio is bare ground instead of a poured slab, the question of putting rubber pavers directly on dirt comes up a lot, and the answer hinges on drainage and how much the base will settle over time.
The install method drives the rest of the prep. Interlocking tiles loose-lay over a flat, hard surface with almost no fuss, while rolls and glue-down tiles have their own subfloor demands. A flat, dry substrate is what makes any of these tiles perform the way the spec sheet promises, so I check it before I open a single box. That's why a moisture meter, a handheld tool that reads how much moisture is trapped in concrete, goes in my kit right next to the straightedge on every job.
That sets the honest DIY-versus-hire line. Loose-lay interlocking tiles over a dry, flat slab are a realistic weekend job for most homeowners. Glue-down work and any damp basement are where paying a pro earns its keep, because a bad moisture read or a rushed adhesive job is expensive to redo.