
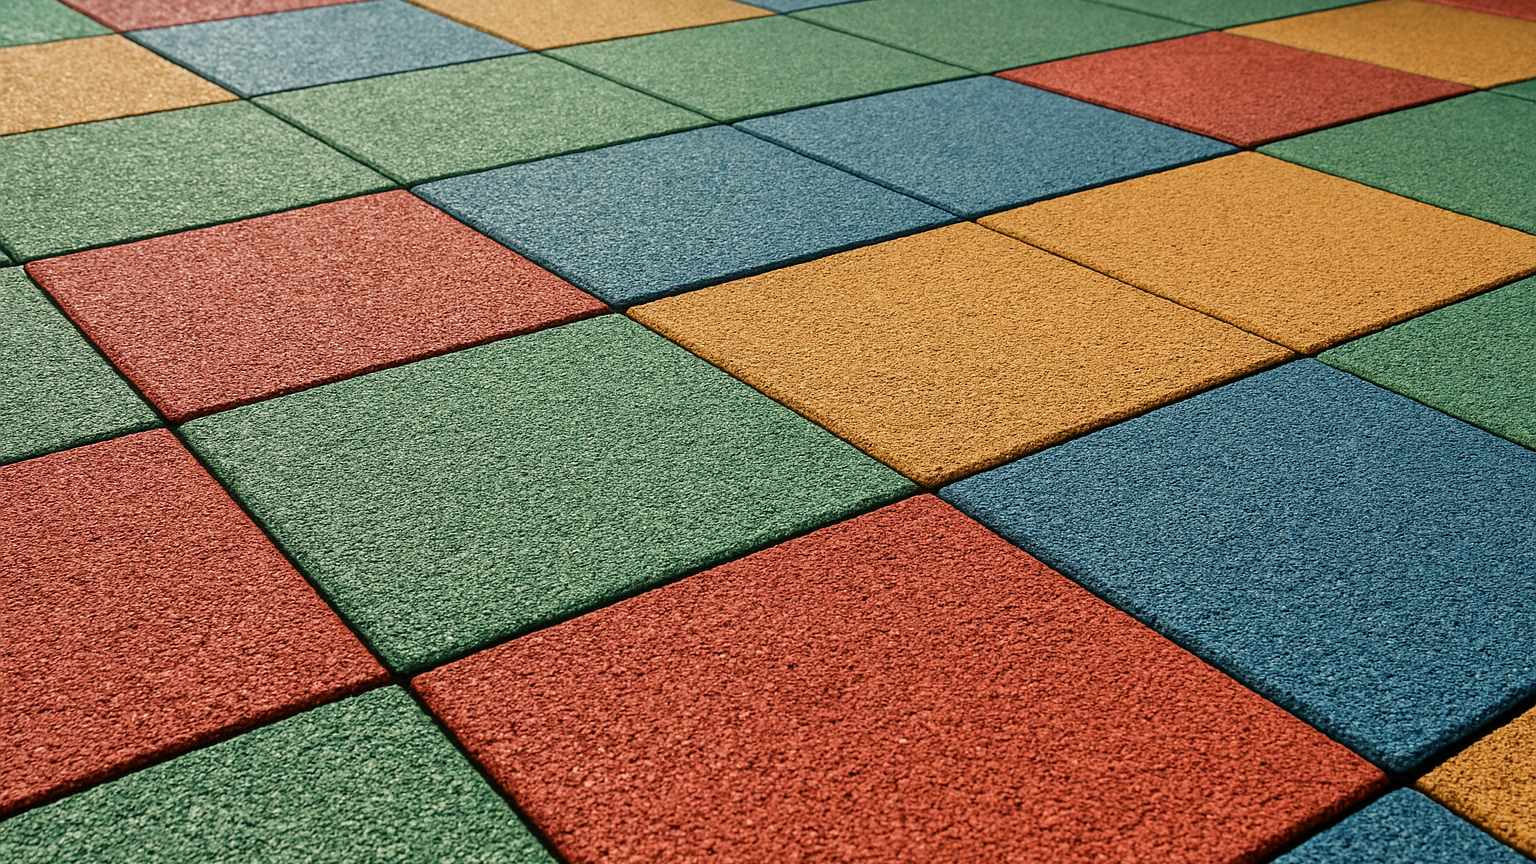
Before you buy outdoor playground rubber tiles, the one check that matters most is matching the tile's thickness to your real fall height and getting the product's ASTM F1292 impact test in writing. Everything else, from wheelchair access to the base underneath, builds on that number. Get it wrong and you've bought a surface that looks right but fails the fall a kid actually takes.
Below are seven checks I'd run before paying, in the order they matter.
Key takeaways
- Match thickness to fall height: common ratings put 2.5-inch tiles at about a 6-foot fall and 4.25-inch tiles at about 8 feet, but the real number is each product's own ASTM F1292 impact test.
- Only unitary surfaces (rubber tiles and poured-in-place) meet ADA (Americans with Disabilities Act) firmness under ASTM F1951; loose-fill like mulch needs at least 12 inches of depth (CPSC) and is not wheelchair-firm.
- Most tile failures (warping, gaps, trip edges) come from skipped subsurface prep and missing expansion gaps, not from the tile itself.
- Plan to replace outdoor playground tiles around the 10-year mark.
- Cost splits into material plus labor, and figures swing with site, climate, thickness, and whether a pro crew sets the base; poured-in-place usually costs more to install than interlocking tiles.
1. Decide Your Surface Category: Loose-Fill, Tiles, or Poured-in-Place
The U.S. Consumer Product Safety Commission (the federal agency that sets playground safety guidance, called the CPSC) sorts playground surfaces into two buckets: loose-fill and unitary. Loose-fill is mulch, wood chips, sand, or pea gravel. Unitary is rubber tiles and poured-in-place rubber, which set into one firm, flat shape. Tiles are a unitary surface, which is why they hold a level shape loose-fill can't.
Loose-fill is cheapest up front, but the Consumer Product Safety Commission's (CPSC) own guidance calls for at least 12 inches of material to protect against falls. It also scatters, kicks out of the fall zone under swings, and has to be raked back and topped up.
There's a vendor fight you'll run into: tile sellers call tiles durable and low-maintenance, while poured-in-place sellers warn that tiles warp. Tiles sit in the middle, and they live or die on the base beneath them.
For a small landing under a single swing, rather than a full tiled use zone, heavy duty outdoor rubber mats can cover the spot without tiling the whole yard.
| Surface | CPSC class | Typical depth | ADA firm? | Notes |
|---|---|---|---|---|
| Loose-fill (mulch, wood chips, sand, pea gravel) | Loose-fill | At least 12 inches | No | Cheapest, but displaces, scatters, and must be raked and topped up |
| Interlocking rubber tiles | Unitary | 2.5-4.25 inches thick | Yes, when installed level | Firm and flat; warps or gaps if the base and expansion gaps are wrong |
| Poured-in-place rubber | Unitary | Depth set to fall height | Yes, seamless | Highest install cost; needs a trained crew and good weather to pour |
Source: the CPSC's Public Playground Safety Handbook
How the three main playground surface types compare on class, depth, and accessibility.
2. Match Tile Thickness to Your Real Fall Height
Thicker tiles absorb higher falls, so the thickness you buy has to match the highest point a kid can fall from, not the cheapest box on the shelf. A thin tile under a tall climber is a surface that looks fine and fails when it counts.
Common market ratings put 2.5-inch tiles at roughly a 6-foot fall and 4.25-inch tiles at roughly 8 feet. Treat those as a starting point, not gospel. The real rating comes from each product's own ASTM F1292 test, covered in the next check.
Measure your fall height from the highest standing or grabbing surface of the equipment, not from the ground to the deck. On a climber, that's the top bar a kid can reach, not the platform they stand on.
Tiles commonly come in 24x24-inch squares. Larger pads cover faster and leave fewer seams, but they still have to hit the thickness your fall height demands. Size speeds up the job; it doesn't change the safety math.
| Thickness | Fall height rating | Typical use |
|---|---|---|
| 2.5-inch tile | Up to about 6 feet | Lower platforms, low swings, toddler areas |
| 4.25-inch tile | Up to about 8 feet | Taller climbers and composite play structures |
Fall height rating each tile thickness commonly carries, in feet.
3. Get the ASTM F1292 Impact Test in Writing
Ask the seller for the product's ASTM F1292 impact-attenuation test. That's the standard that sets a surface's critical fall height, and thickness alone is a guess until you see that number.
In plain words, ASTM F1292 is a lab test. A technician drops a weighted headform onto the surface and measures how hard a fall it softens. The critical fall height is the tallest fall that product passes. That's the figure that proves your tile is safe under your equipment, not the ad copy.
Once it's installed, you can walk the finished playground against the CPSC's free Public Playground Safety Checklist. It's a neutral document anyone can use, and it costs nothing to download.
Before you pay, get five things in writing: the ASTM F1292 result for the exact tile and thickness, the critical fall height that test proves, the ASTM F1951 accessibility result if you need wheelchair access, the written install and expansion-gap instructions for that product, and a warranty term stated for that specific product rather than the category. A seller who can only talk thickness and color, and can't produce the F1292 result for that exact product, is selling you hope, not a tested surface.
4. Confirm ADA Access With ASTM F1951
If a wheelchair or walker has to reach the play structure, the surface has to pass ASTM F1951, the lab test for how hard it is to roll and turn a wheelchair across it. ADA here is the Americans with Disabilities Act, the federal law that requires accessible routes.
Rubber tiles and poured-in-place rubber are firm enough to qualify when they're installed level. Loose mulch and pea gravel bog wheels down and generally don't. That's the real split between the two surface categories for access.
A route can still fail even with the right tile. If the tiles gap or lift, any lip becomes a trip for a walking kid and a roll barrier for a wheelchair. That ties straight back to prep, covered in check six.
Keep the surface rating separate from the whole-route job. ADA access is about the full path from the parking lot to the structure, not just the pad under one slide. The tile passing F1951 is one piece of a bigger route.
5. Check What the Rubber Is Actually Made Of
Outdoor playground tiles are usually a recycled SBR (styrene-butadiene rubber) rubber base, ground up from old tires, topped with a colored EPDM (ethylene propylene diene monomer) wear layer. SBR is styrene-butadiene rubber, the common black recycled stuff. EPDM is a weather rubber made in colors. EPDM holds color and shrugs off sun and weather better than exposed SBR does.
That matters for the color claims. The EPDM top is what resists UV fade, so a tile that's recycled black all the way through will gray out and chalk faster outdoors than one with a real EPDM cap. If you're paying for color, make sure it's an EPDM wear layer, not dye over black crumb.
On the crumb-rubber safety question, the CPSC and the Environmental Protection Agency (the EPA, the federal pollution and health agency) ran a joint Federal Research Action Plan on recycled tire crumb rubber. That's a neutral place to read the findings for yourself, rather than taking a vendor's reassurance at face value.
New rubber can carry a tire-shop odor when it's first laid. Outdoors it fades fast with open airflow, so it bothers almost no one on a playground. That same smell is a bigger deal in a closed room than it is in open air. It's one more reason the ventilation plan looks different when you're shopping rubber tiles for home use instead of an open-air playground.
6. Prep the Subsurface and Plan Expansion Gaps
Nearly every warp, gap, and trip edge I get asked to fix traces to the base and the gaps, not the tile. A flat, draining, compacted base with a proper perimeter expansion gap is what keeps tiles level for years. The tile itself is rarely the thing that failed.
Two checks happen before anyone lays a tile. First, the base has to be flat and compacted, because high and low spots telegraph straight up through the tile and you feel every one underfoot. Second, it has to shed water, so freeze-thaw doesn't heave it over a winter. Ohio winters punish a base that holds water.
Rubber grows when the sun hits it. Leave the perimeter expansion gap the manufacturer's instructions call for, the exact size is a per-product number, not a universal figure you guess at. Skip that gap and the field buckles on the first hot afternoon.
One field lesson I learned the hard way on a basement gym job: let interlocking tiles come up to room temperature and lie flat before you trim or lock them. On that job a customer named Dale rushed the install with cold, roll-curled tiles, and the edges never fully settled. They caught every dropped plate after. Cold, curled edges don't relax once they're locked in, so I let them flatten out first every time now. That same lesson about letting rubber acclimate carries over to home gym flooring in general, since basement gyms are one of the most common places people install rubber flooring for a home gym.
If you're tempted to set rubber straight on the ground to save the base work, read why you can't just put rubber pavers directly on dirt before you start. The base is the part that lasts or fails.
7. Price the Full Job: Material Plus Labor
Cost splits into two parts, material and labor, and the total swings with site, climate, thickness, and whether a pro crew builds the base. There's no honest single national number, so treat the ranges below as typical and get a real quote for your site. Labor alone can run from a few hundred dollars for a small pad to several thousand for a full yard, numbers broken down further in a look at rubber flooring installation cost by project size.
Interlocking tiles tend to cost less to install than poured-in-place, because a poured job needs a trained crew and the right weather window to lay it. Poured-in-place gives you a seamless surface with no seams to lift, which is why it costs more to put down. That price gap is also where buyers start asking straightforward rate questions like how much does rubber tile cost.
The biggest hidden cost is the base. If your yard needs grading, a gravel base, or drainage work, that labor can rival the surface itself. Basement or raised-deck play areas and anything with steps cost more than a flat open yard, same as any flooring job.
| Surface | Material (per sq ft) | Install labor (per sq ft) | Notes |
|---|---|---|---|
| 2.5-inch interlocking tiles | Varies by product, often the lower end | Lower of the two; DIY-able on a prepped base | Thinner, for lower fall heights |
| 4.25-inch interlocking tiles | Higher than 2.5-inch | Similar labor, more material cost | Thicker, for taller structures |
| Poured-in-place rubber | Quoted as one installed price | Highest; crew and weather dependent | Seamless, no edges to lift |
How the main cost drivers split across tile thickness and poured-in-place, material versus install labor.
Click-lock tiles on a base someone else prepped are realistic for a handy homeowner. The base grading, drainage, and a poured-in-place pour are where I'd hire out, because that's where a shortcut turns into the exact failures covered in check six. How soon you'll replace the tiles depends on that base work and the specific product's rubber formula, ask the manufacturer for its stated life expectancy and budget around that number instead of a guess. If you're weighing interlocking tiles for a patio or walkway beyond the play area, a broader look at outdoor rubber interlocking tiles covers those other uses too.
If you're still weighing tiles against a simple mat for a small backyard setup, what is a good outdoor rubber mat for a kids' play area walks through when a mat does the job for less.