The best kitchen tiles aren't one tile: buy a tough, grippy floor tile and spend your design budget on the backsplash. Most people pick one pretty tile in a showroom and run it everywhere. That compromise either slips underfoot or wastes money up high where nothing ever scuffs.
Key takeaways
- Treat a kitchen as two tile jobs: the floor needs slip and grease resistance (porcelain or glazed ceramic, PEI 3 or higher, R10-R11), while the backsplash is where looks and budget win.
- Ceramic is the value backsplash pick (about $7-$10 per sq. ft. tile-only at TileBar); porcelain is the toughest floor tile; marble, terrazzo, and handmade terracotta cost and maintain more.
- Matte or honed floor tile hides grease and grips better underfoot than glossy; save the glossy finish for the backsplash where it only takes splashes.
- Order about 10% extra tile for a straight layout and 15% for herringbone or diagonal, and always order a sample before you buy the full lot.
- A simple backsplash is realistic DIY; floor tile, large-format, and herringbone patterns are usually worth hiring out.
The Best Kitchen Tile Depends on the Zone, Not the Trend
A kitchen is really two tile jobs, and the right tile flips between them. The floor has to grip when wet and shrug off grease. The backsplash only has to look good and wipe clean.
So there's no single "best kitchen tile." The floor pick and the backsplash pick are different materials, different finishes, and often different budgets. That's how you should shop.
The one-line rule: buy the toughest, grippiest tile you can afford for the floor, then put your design money on the backsplash where wear is almost nothing.
Here's the trap I see over and over. Someone falls for one glossy tile under showroom lights, buys enough to cover the whole kitchen, and the floor turns into a grease rink the first time a pan spits oil. I pulled a glossy floor tile out of a kitchen in Kettering for exactly that reason, the homeowner, Renee, loved how it looked dry, and hated it every time she cooked.
| Zone | What to buy | Why |
|---|---|---|
| Floor | Porcelain or glazed ceramic, PEI 3+ (a 0-5 wear-rating scale for how much surface abuse a tile takes) or higher, matte or textured finish (R10-R11, a ramp-test score for wet-foot grip) | Grips when wet, shrugs off grease and dropped pans, takes daily traffic |
| Backsplash | Glazed ceramic (subway, zellige-look, tile glazed with an intentionally uneven, handmade look); glossy is fine | Only takes splashes and steam, wipes clean, cheapest zone to splurge on looks |
| Full wall / accent | Ceramic or porcelain, any finish | Low wear, so choose for looks; skip soft marble behind a range unless you'll seal it |
Source: which kitchen tiles I've had to tear out and redo, and which ones stayed put
Which kitchen tile fits each zone and why.
Kitchen Tile Materials Compared: Ceramic, Porcelain, Marble, Terrazzo, Terracotta
For most home kitchens, the answer is porcelain or glazed ceramic. Stone and terracotta are looks-first picks that cost more and need sealing, so reach for them where you want character and will keep up the maintenance. Marble is the clearest example of that stone tradeoff, which is why it's worth comparing marble tile versus marble-look porcelain by room before you commit to either.
Porcelain is denser and less porous than most ceramic, which is why it's the stronger floor choice. But don't trust the name alone. Check the tile's own water-absorption number and its use rating, because some tiles labeled porcelain are closer to ceramic in practice. That density is also why so many people wonder whether porcelain counts as a natural stone, when in fact it's manufactured, not quarried.
If you love the look of stone but not the upkeep, look at porcelain made to look like limestone. It copies the veining and soft color without the sealing schedule or the stone price.
Every price below is tile only, not an installed price. Labor gets quoted separately, and what you pay depends on your region, the tile size, and the layout, small mosaic, herringbone, and diagonal patterns take far more cutting and setting time than a plain subway wall or a large-format floor. Get a firm labor quote for your actual room instead of guessing from the tile price alone.
Ceramic Kitchen Tiles
Ceramic is the value pick for a kitchen, especially the backsplash. It's the cheapest tile here, easy to cut, and wipes down with almost nothing. The one weak spot is the glaze: on a busy floor it can chip over the years, which is why I steer ceramic toward walls and lighter-traffic floors and put porcelain where the pans drop. Ceramic tile also carries real sustainability credentials: according to the Tile Council of North America's "Tile: The Natural Choice," ceramic tile can contribute toward green building credits, including LEED, which is worth knowing if you're weighing materials for an eco-conscious remodel.
| Material | Price per sq. ft. (tile only) | Best use | Watch-outs |
|---|---|---|---|
| Ceramic (glazed) | $6.95-$9.35 | Backsplash, walls, light-traffic floors | Cheapest, easy to wipe; glaze can chip on floors over time |
| Porcelain | $11.95-$29.50 | Floors (incl. busy kitchens), wet areas | Densest, lowest water absorption; harder to cut, worth hiring for floors |
| Terrazzo | $18.95 | Floors and feature walls | Tough speckled look; honed finishes need periodic sealing |
| Marble mosaic | $25.36 | Backsplash, accent only | Soft and porous; stains from grease and acid, needs sealing, not for busy floors |
| Handmade terracotta | $39.00-$63.00 | Floors, feature walls (looks-first) | Warm, characterful, high cost; must be sealed or it soaks up spills |
Source: sample prices from TileBar's current tile listings
Tile-only prices per square foot for common kitchen tile materials, with best use and watch-outs.
Kitchen Floor Tile: What Survives Grease, Water, and Foot Traffic
For a kitchen floor, choose porcelain or glazed ceramic rated PEI 3 or higher, with a matte or textured surface. That combination grips when wet and takes the daily beating.
A couple of ratings do the heavy lifting here. PEI stands for the Porcelain Enamel Institute wear scale, a 0-to-5 number for how much surface wear a tile can take. The R-rating comes from a ramp slip test, where someone walks an oiled tile on a tilting ramp; R10 to R11 is a good grip range for a kitchen.
Finish is the part people get wrong. Glossy floor tile looks sharp when it's dry and turns slick and smeary the moment cooking grease lands on it. Matte or honed is the practical floor pick.
Before any tile goes down, check two things about the base. First, flatness: run a long straightedge across the subfloor and fill or grind the dips, because tile cracks over a bouncy or uneven floor no matter how good the tile is. Second, moisture: concrete and wood subfloors both need to be dry, and the tile and its mortar only last as long as the flat, dry base under them. If your existing floor is vinyl rather than bare subfloor, those same flatness and moisture checks are most of what decides whether you can tile over vinyl flooring.
Tile also pairs well with radiant underfloor heating. Porcelain and ceramic handle the heat fine, which is a real reason tile beats most other floors in a cold kitchen. That heat-retention edge is one more point worth weighing when you're comparing LVP vs tile for a kitchen floor.
On DIY versus hire: a simple straight floor in a small kitchen is doable for a confident DIYer with a good wet saw. Large-format tile needs a dead-flat floor and bigger spreaders, and herringbone eats hours in cuts, so both are usually worth hiring out. If you'd rather have something softer and warmer underfoot, it's worth weighing the cost of LVP tile sorted by wear-layer tier before you commit to a hard, cold tile floor.
| PEI rating | What it means | Kitchen fit |
|---|---|---|
| PEI 0-1 | Walls only / no foot traffic | Backsplash only, not a floor |
| PEI 2 | Light foot traffic | Bathroom; too soft for a busy kitchen |
| PEI 3 | All normal residential floors | Fine for most home kitchens |
| PEI 4 | Heavy residential / light commercial | Best for busy kitchens and mudroom-to-kitchen runs |
| PEI 5 | Heavy commercial | Overkill for a home, but it won't hurt |
What each PEI wear class means for a kitchen floor.
Modern Kitchen Floor Tile Looks
Large-format porcelain is the look I set most in kitchens now. Big tiles mean fewer grout lines, so the floor reads calm and cleans faster. Warm earth tones, soft greige, and terrazzo-look speckle are showing up in a lot of the Dayton-area kitchens I've retiled this year, pushing back against the all-gray run of a few years ago. That same large-format porcelain is usually the material on the table when a client asks me about tiling a kitchen floor next to hardwood in an open-plan house.
Wood-look tile is the other big one. If you want plank boards with tile toughness, plank tile flooring gives you the grain and the length of a wood floor with none of the water worry. Keep it matte so it grips, and run the planks the long way to stretch the room.
Kitchen Backsplash and Wall Tile: Where Looks Lead
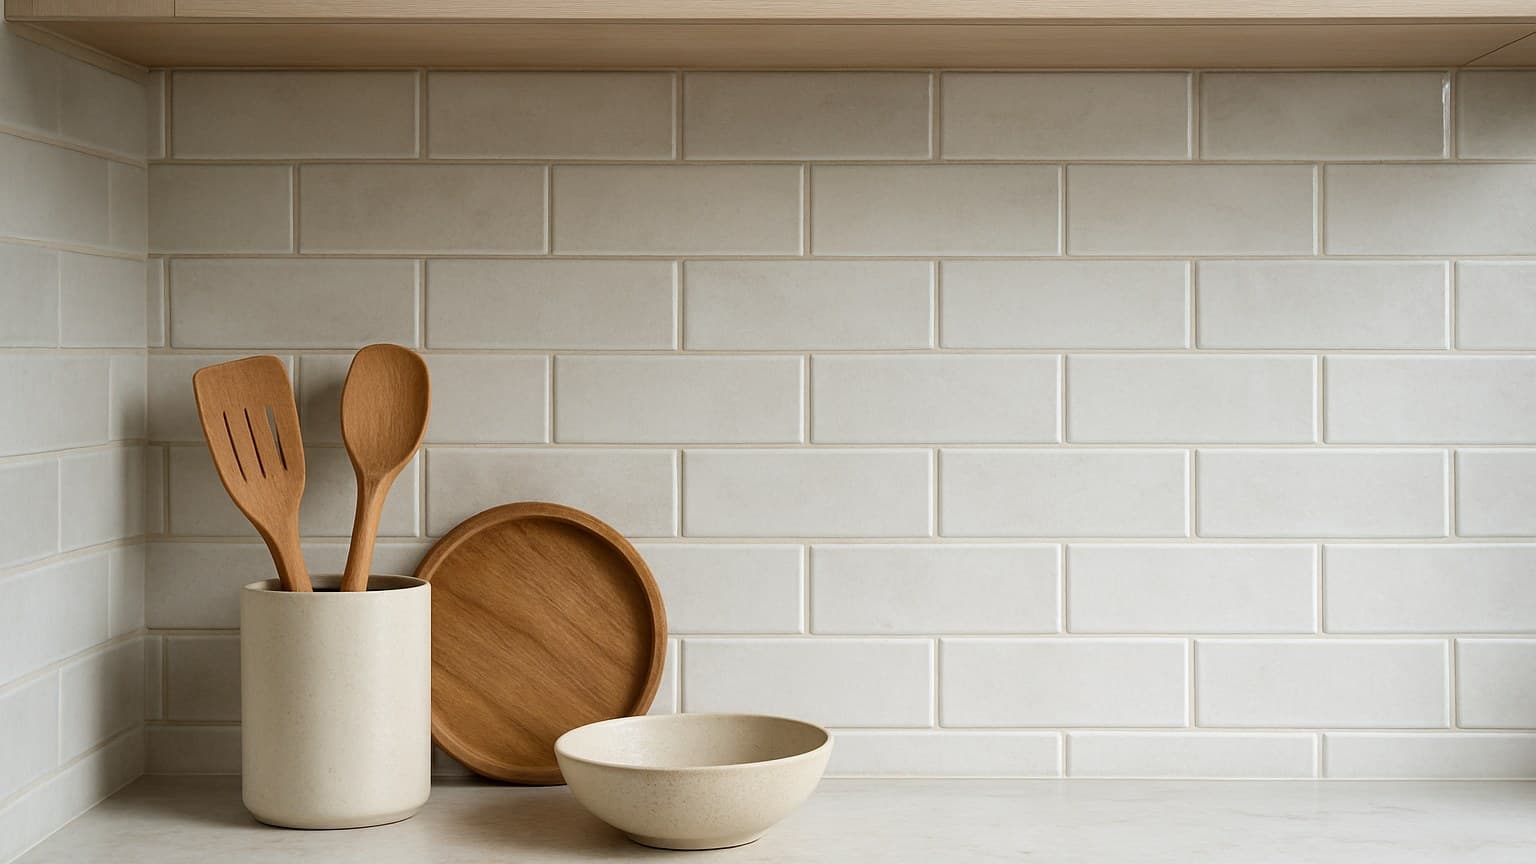
The backsplash and walls take almost no wear, so this is where you pick for looks and color. A glossy finish is fine here, and a pricier accent tile only has to cover a small area.
Shape drives both the look and the labor bill. Subway is the classic and cheapest, and a straight stack is the fastest to set. Hexagon, herringbone, and chevron all cost more in labor because every angle means more cuts and more time. Fluted and 3D tile add texture but need careful lining up.
On color, be clear-eyed. White and gray read clean and resell safe. Green, blue, and brown add real personality but date faster, so use them where you actually want character, not where a future buyer has to live with your mood.
Mesh-backed mosaic sheets let a pro cover a backsplash fast, but they leave far more grout to clean and seal. More grout lines means grout color and sealing matter more, both for looks and for how it ages behind a stove. If you've never set mosaic sheets before, it helps to know how to keep mosaic tile grout lines from going crooked before you start a full wall.
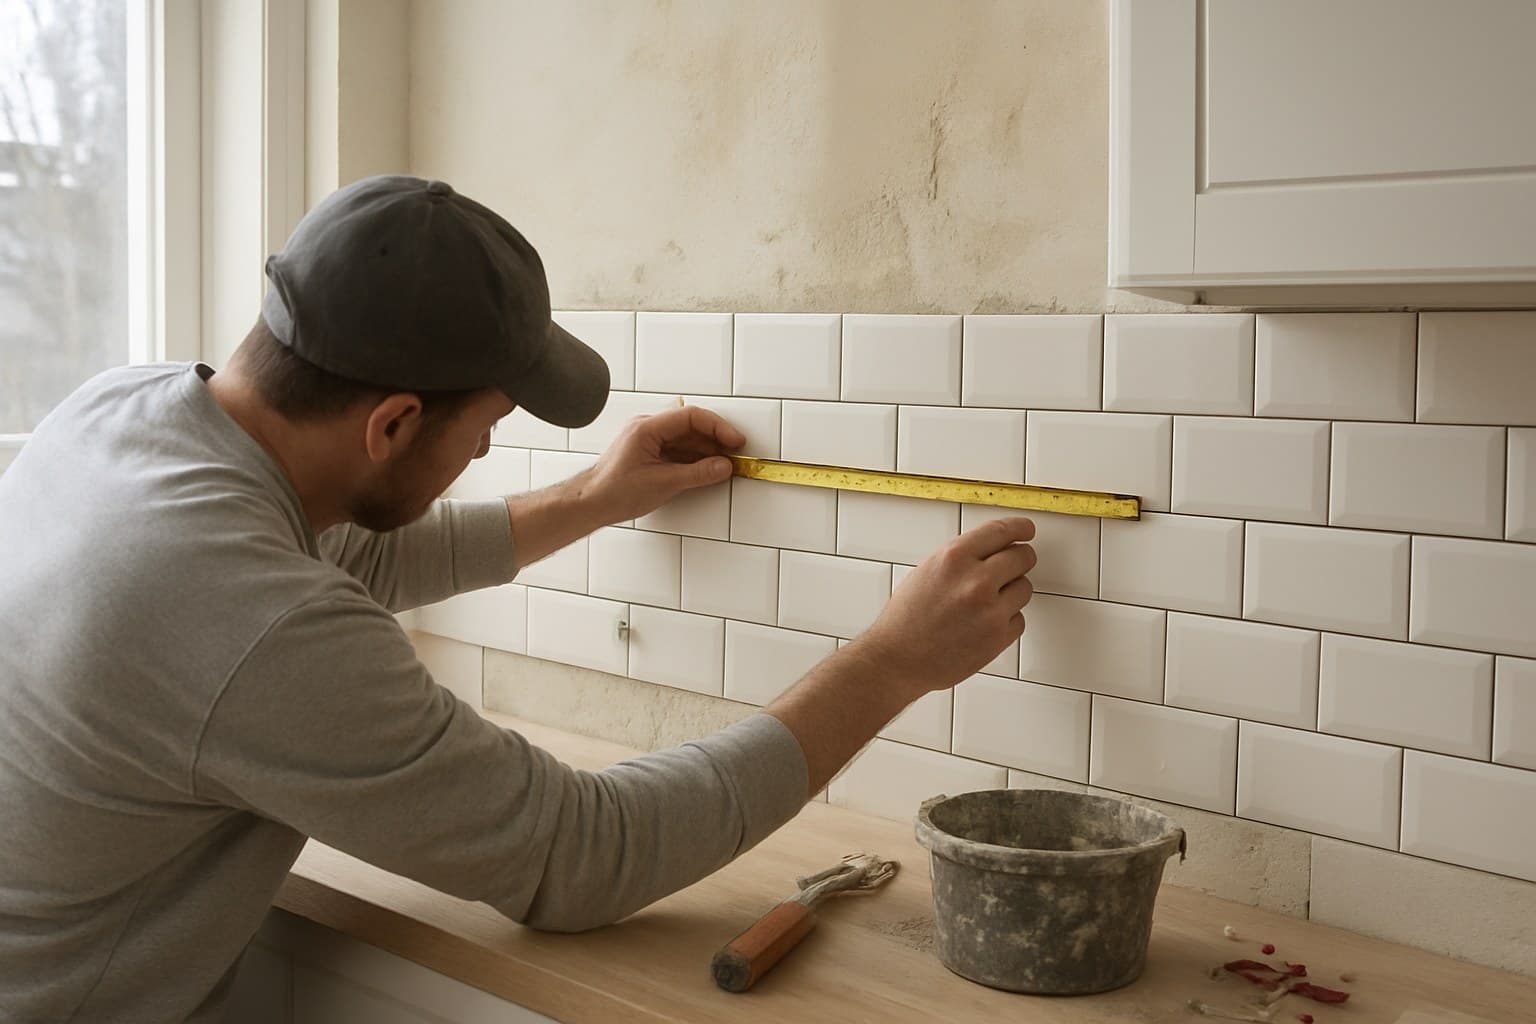
A straight ceramic subway backsplash is one of the friendliest tile jobs to try yourself. A busy mosaic, a full wall, or anything with lots of outlet cuts is where a pro earns the fee.
How Much Kitchen Tile to Order, and When to Hire
Before you get to waste percentages, nail down the base number. Measure the length and width of the floor (or each wall section for a backsplash) in feet and multiply them to get square footage; if the room isn't a simple rectangle, break it into sections and add them up. Then check the tile box label for how many square feet that specific box covers, it varies by brand and tile size, so use the box's own number, not a guess. Divide your total square footage by that coverage figure and round up to the next full box. That rounded number is your base order, and the waste percentage below gets added on top of it, not instead of it.
Order about 10% extra for a straight layout and 15% extra for herringbone or diagonal, where more cuts create more waste. That overage covers cuts, breakage, and the odd bad tile in the box, and it gives you spares for a future repair from the same dye lot.
Always order a single sample before you buy the full lot. Color and finish shift between lots and between a screen and your actual kitchen light, and a sample on the floor at night under your real bulbs tells you more than any showroom.
Price-wise, remember the tile numbers above are tile only. Installation is its own line, and it climbs with small tiles, busy patterns, and tricky spots like running tile into a pantry or around an island. Simple open floor runs cost the least per square foot; cuts, transitions, and layout work are what push a labor quote up.
DIY splits cleanly. Click-lock and a straight subway backsplash suit most DIYers. Floor tile, large-format, herringbone, and any spot where grout and sealing have to be right are usually worth hiring out.