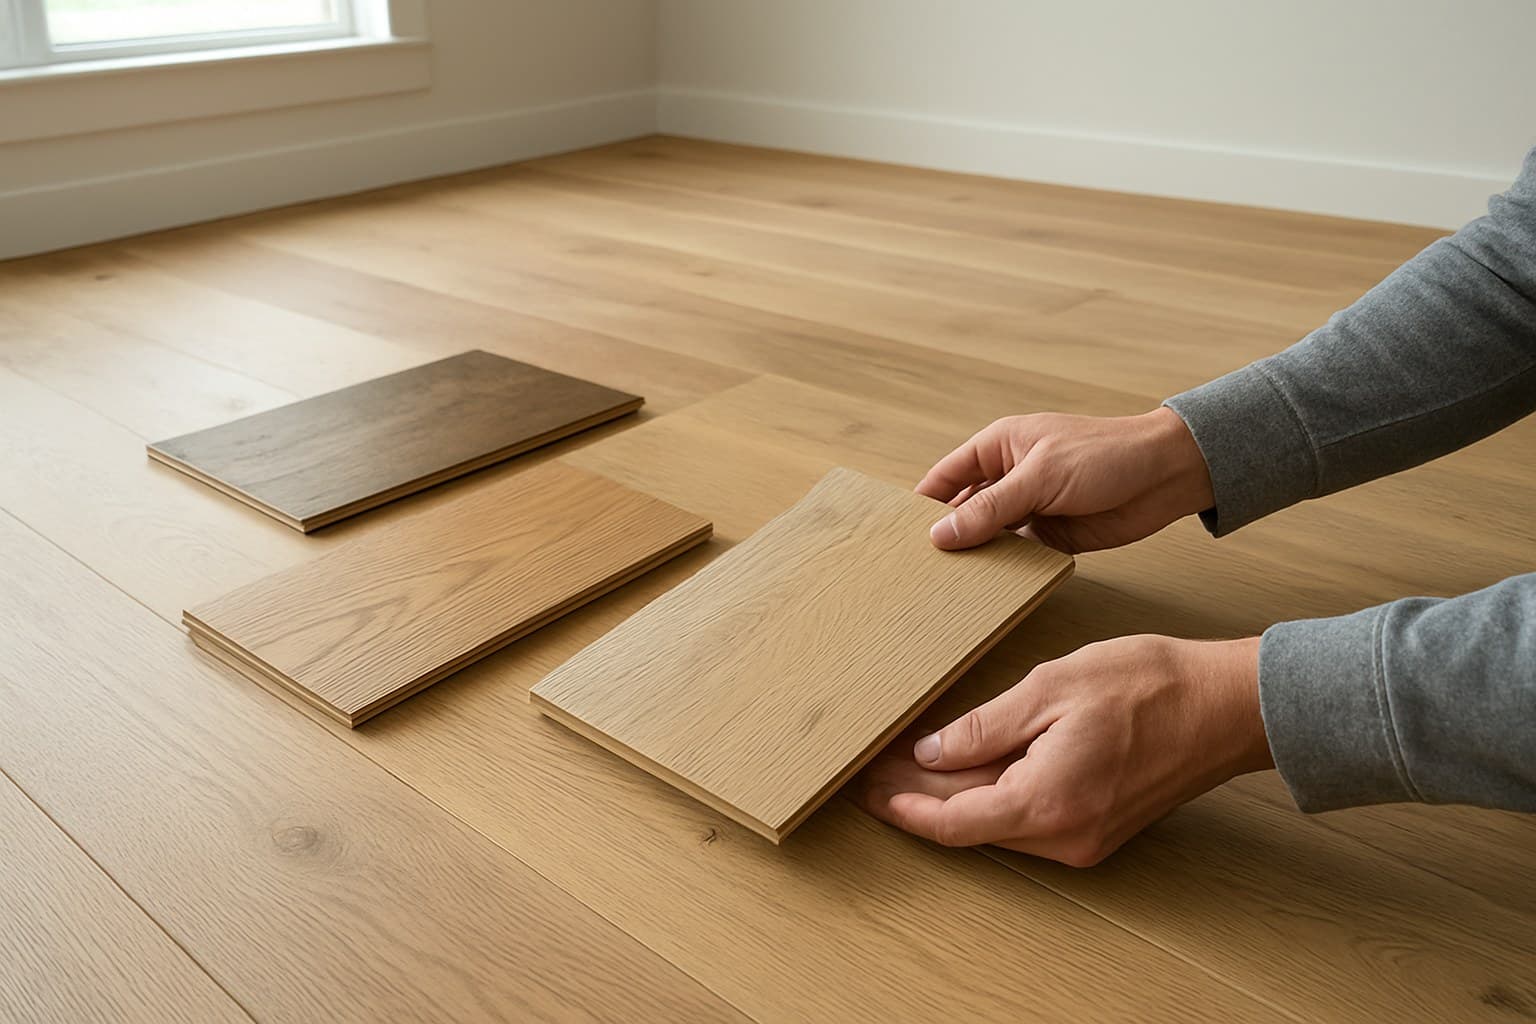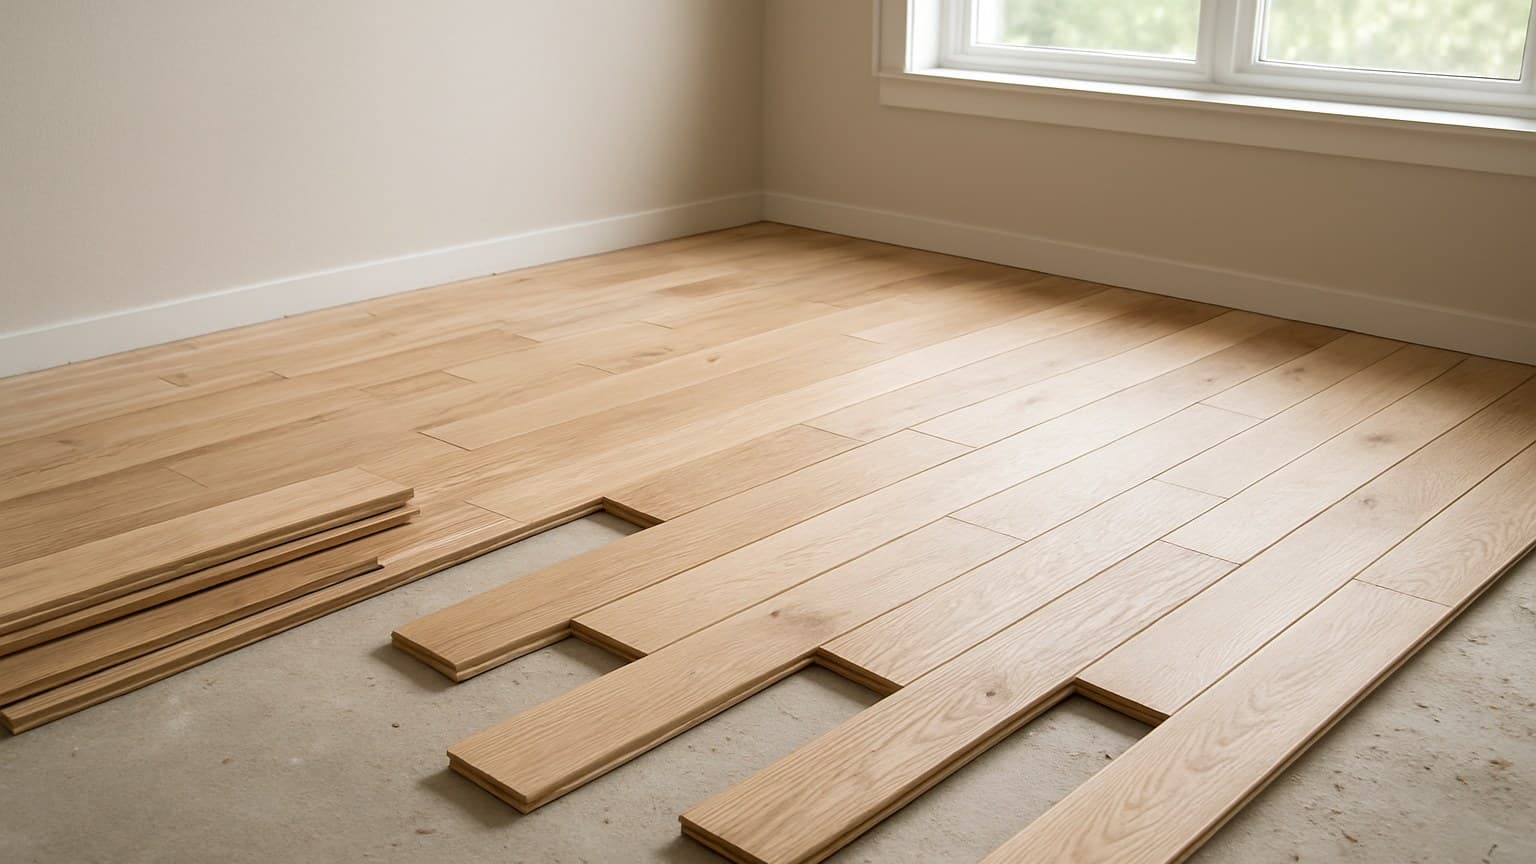
On a job in Reading, Pennsylvania, I sanded straight through a homeowner's new unfinished engineered floor because nobody had checked the wear layer before the machine ever touched the boards. Site-finishing sounds like the premium move, but unfinished engineered hardwood hides a trap most sales pages skip: the real wood on top is thin, and sanding thin wood is easy to ruin. One spec, the wear layer in millimeters, decides whether that risk pays off or wrecks your floor. Here's how to read it before you buy.
Key takeaways
- Unfinished engineered hardwood is real wood veneer over a plywood core that you sand, stain, and seal after it's installed, so the veneer thickness sets your whole refinishing future.
- The single most important spec is wear layer: 1 mm or less gets you a screen-and-recoat at best, while 4 mm and up can take 2-3 full sands, per NWFA's Certified Refinishable Program.
- Never float an unfinished engineered floor you plan to sand on site; a floating floor flexes and cracks the fresh finish. Glue or nail it down first.
- Materials run roughly $3-9 per sq ft for unfinished engineered; site labor to nail or glue plus sand, stain, and seal often adds $6-14 per sq ft, and basement or stair jobs cost more than open rooms.
- Choose unfinished engineered only if you want a custom stain over concrete and are hiring a skilled finisher; most DIYers are better served by prefinished.
What Unfinished Engineered Hardwood Actually Is (and Who It's For)
Unfinished engineered hardwood is a thin layer of real hardwood glued over a plywood core, sold raw so you sand, stain, and seal it right in the room after it goes down. Nothing is coated at the factory. You choose the color and the sheen on site.
The appeal is control. You pick the exact stain and how shiny or flat the finish sits, which you can't do with a floor that shows up already coated. And because the core is cross-layered plywood, not one solid piece of wood, it stays flatter over concrete and in below-grade rooms where solid boards usually aren't recommended. That engineered-over-solid advantage plays out differently depending on the room, so it's smart to map engineered vs. hardwood by room before deciding on one material for the whole house.
Here's the catch that shapes this whole article: that top layer of real wood is thin, and site-finishing a thin veneer is exactly where floors get ruined. A sander that bites too deep in one spot can burn straight through the wood into the plywood, and there is no fixing that short of replacing boards.
So who is this really for? Someone who wants a custom stain color over a slab and is hiring a skilled finisher to do the sanding. If you don't need a one-off color, and especially if you're doing the work yourself, you're probably better off with prefinished. I'll lay that comparison out in full below.
Unstained and Unfinished: Are They the Same Thing?
Close, but not identical. Unfinished means no stain and no protective coat at all, just bare wood. Some products are sold "unstained but sealed," meaning the raw wood tone is locked in under a clear coat. Read the label. If you want to choose your own color, you need truly unfinished, not just unstained.
The Specs That Decide Everything: Wear Layer, Core Plies, and Thickness
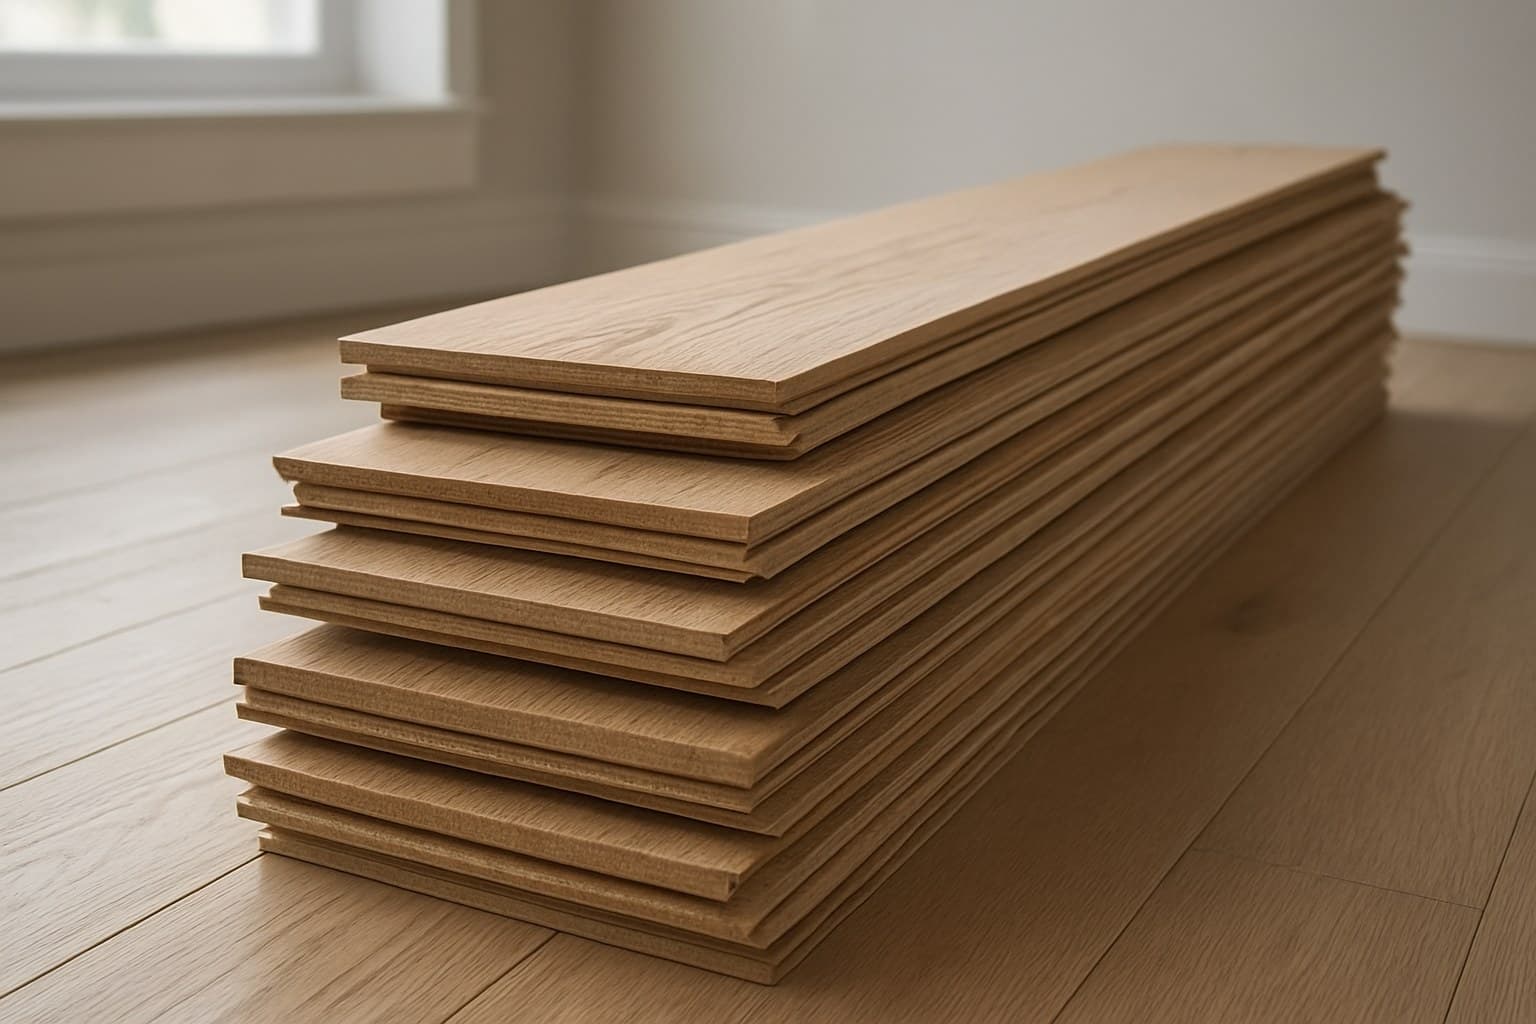
The single spec that matters most is the wear layer, the depth of real wood sitting above the plywood core. It controls how many times you can ever sand the floor and it drives the price. Don't trust a vague "thick veneer" claim on a display. Pull the actual product's spec sheet and read the number in millimeters.
As a rough benchmark for reading a spec sheet, published wear layers on engineered hardwood generally run from around 0.6mm on the thinnest budget products up to 6mm or more on premium lines. As a loose rule of thumb: wear layers under roughly 1mm to 2mm typically support no true refinishing, or at best a single light screen-and-recoat; 3mm to 4mm commonly allows one full sanding; and 4mm to 6mm or more is generally what lets a floor take two or more full sandings over its life. Treat these as general benchmarks for sizing up a spec sheet, not a universal cutoff, actual sanding eligibility is set by the manufacturer, not by millimeters alone.
As a general guide, the National Wood Flooring Association's Certified Refinishable Program ties refinishing eligibility to wear-layer depth: thinner veneers typically qualify for a light screen-and-recoat at best, while thicker wear layers can often support multiple full sandings over the floor's life. The program document itself doesn't publish one universal mm cutoff that applies across all manufacturers, it certifies products individually, which is why the exact threshold for your floor should come from the maker's own spec sheet, cross-checked against the NWFA's list of certified refinishable manufacturers, rather than from a number on this page.
Core construction is the next thing to check. More plies of solid plywood, often birch or baltic-birch, generally means a flatter, more stable board, and that stability matters most over a slab. A soft or thin core flexes, and flex is the enemy of a fresh site finish. If birch keeps showing up as the core species on spec sheets, it's worth checking the birch engineered hardwood flooring facts that actually affect performance before assuming every birch core is equal.
Thickness usually runs 5/8 inch or 3/4 inch on the products worth site-finishing. Thicker boards give you more options for how they get fastened down, which I'll cover in the install section. The floor to walk away from is the cheap one that pairs a thin veneer with a thin, soft core. That's the worst possible thing to hand a sander. That same thin-veneer-thin-core combo is exactly what separates a genuine discount engineered hardwood bargain from a downgraded product wearing a low price tag.
Before you buy, get five things off the spec sheet, not off the salesperson: the wear layer in actual millimeters, how many plies are in the core and what wood they're made of, the overall board thickness, whether the manufacturer approves on-site sanding at all (some don't, and sanding voids the warranty), and which install methods they allow for your kind of subfloor. If any of those five is missing or dodged, that tells you something about the product.
For a wider look at which makers publish honest specs, see the 7 best engineered hardwood flooring brands ranked by the numbers.
Grades, Cuts, and Widths: What You're Choosing When You Buy Raw
Buying raw means every grade and cut choice shows up loud once you stain it, so you're picking a look, not just a material. Here's what the terms mean in plain words.
Grade is about how clean the wood is. Select and Better has the fewest knots and the most even color. Number 1 and Number 2 Common bring more color swing and character. Character grade goes further, putting knots and streaks front and center on purpose. None is "better." A busy character floor can hide dents beautifully; a select floor gives you a calm, uniform room.
Cut is how the log was sliced. Plain sawn is the common one, with the wavy cathedral grain most people picture. Rift and quartered cuts give you a straighter, tighter grain that moves less with humidity, and they cost more because the mill wastes more wood getting them. If you want a hand-worked texture on top of all this, that's a separate choice worth reading up on in the guide to hand-scraped engineered hardwood.
Wide Planks: More Look, More Risk
Wide boards read as high-end, but they get twitchy. Once you pass about 7 inches wide, any dip or hump in the subfloor shows more, and seasonal moisture movement gets more visible at the seams. On a floor you're about to sand flat, a wavy subfloor under wide planks is a real headache. If you have your heart set on wide, go read the checks to run before buying 12-inch-wide engineered hardwood first, because the prep bar is higher.
Pick your grade, cut, and width for the room and the traffic, not for the little sample chip under the store lights. Raw wood changes character the moment stain hits it.
Unfinished Engineered vs. Prefinished Engineered vs. Solid Unfinished
Here's the head-to-head. The short version: unfinished engineered buys you custom color over concrete, prefinished engineered buys you a tougher factory finish and a faster, cleaner install, and solid unfinished gives you the most sanding life but usually can't go over a slab.
| Attribute | Unfinished engineered | Prefinished engineered | Solid unfinished |
|---|---|---|---|
| Comes finished? | No, finish on site | Yes, factory finish | No, finish on site |
| Over concrete / below grade | Often yes | Often yes | Usually not recommended |
| Refinish potential | Limited by veneer | Limited by veneer | Several full sands |
| Custom stain color | Yes | No | Yes |
| Install dust and mess | High (site sanding) | Low | High |
| Realistic for a DIYer | Low | Moderate | Low |
How the three options compare across finish, placement, refinishing, mess, custom color, and DIY difficulty.
The real tradeoff is simple once you see it. Prefinished floors get their coating baked on at the factory, often with a tough aluminum-oxide layer (a hard, scratch-resistant coating cured under UV light) that a site finish can't fully match. You give up custom color to get that toughness and a job that's done the day the last board goes down. Unfinished engineered flips it: you get any color you want, but you pay in dust, days, and finisher skill.
Why does solid unfinished usually lose over a slab? Solid wood expands and shrinks a lot with humidity, and a concrete slab holds moisture that keeps pushing on it. That's why solid boards generally aren't recommended below grade or glued straight to concrete. Engineered's cross-layered core resists that movement and is built to handle exactly that spot. The same moisture test drives the choice between engineered hardwood and LVP in a basement, check the reading before you pick a material.
If you don't specifically need a custom stain, prefinished engineered is the easier call for most homeowners. It's tougher out of the box and there's less to go wrong on install day.
Before Anything: Acclimation, Moisture, and a Flat Subfloor
The floor lasts as long as the prep beneath it, not the plank you picked. Manufacturer warranties are built around that prep step, so skipping it can void the coverage before the floor ever earns a scratch. That's doubly true for a floor you're going to sand.
Test moisture, don't guess at it. On concrete, that means an actual reading with a moisture meter (a handheld tool that reads how wet the slab or subfloor is), not a hand on the floor. Wood subfloors get checked too. The National Wood Flooring Association's Installation Guidelines cover acclimation and conditioning standards, but the exact target numbers belong to your product's own sheet, so use both together. Let the wood sit in the room to adjust only if and as long as the maker tells you to. Some products want it, some say skip it. The NWFA's own consumer-facing Homeowner's Handbook to Real Wood Floors echoes the same point: proper acclimation and moisture testing protect both the warranty and the floor's long-term performance.
Flatness matters more here than on almost any other floor. A wavy subfloor under an unfinished floor means the sander rides the high spots and skips the low ones, and your fresh finish cracks where the boards flex. Get it flat first with leveler where it needs it.
I learned the moisture lesson the hard way on a job for a homeowner named Denise in Toledo, Ohio. She talked me out of a slab test to save an afternoon, and I let it slide. The floor cupped before the season was out, and I relaid it on my own dime rather than argue about whose call it was. That's the day I stopped treating the test as optional.
Basements and Slabs: Let the Moisture Reading Decide
In a basement, the reading runs the show. A dry, sealed slab with numbers inside the product's range can take engineered wood glued down. A slab that reads wet is telling you to fix the moisture first or pick a different floor entirely. I've steered people off wood in a basement when the meter said so, and I haven't regretted the call. When those numbers land in that gray zone, it's worth looking at waterproof engineered hardwood options before ruling wood out of the basement entirely.
Installation Methods: Glue, Nail, Staple, or Float
For a floor you plan to sand on site, glue it or nail it down solid. A floating floor is the wrong choice here, and I'll explain why in a second. Here's how the four methods stack up.
| Method | Best for | Watch out for |
|---|---|---|
| Glue-down | Engineered over concrete slabs | Right trowel and adhesive; messy; slower |
| Nail-down | 3/4" engineered over wood subfloor | Needs a wood subfloor; not for slabs |
| Staple-down | Thinner engineered over wood subfloor | Can telegraph fasteners if overdriven |
| Float (click) | Fast installs, not for site-finishing | Flexes underfoot; cracks a fresh site finish |
Source: NWFA installation guidelines
These install methods follow the wood flooring installation standards published in the NWFA Installation Guidelines from the National Wood Flooring Association (NWFA).
Glue and nail both lock the boards to the subfloor so they don't move independently. That's exactly what a floor needs before it meets a sander. Nail-down wants a wood subfloor and a thicker board; glue-down is the go-to over a slab.
Why Floating Before Site-Finishing Goes Wrong
A floating floor sits loose on a foam pad and rides free of the subfloor. It flexes a little every time you step on it. That flex is fine under a factory finish that's already cured and can move with the boards. But a finish you just brushed on wants a floor that holds dead still while it hardens. Step on a flexing floating floor with fresh finish and you get hairline cracks along the seams and board edges that telegraph through. Lock the floor down first, then finish.
I'm not going to rerun the full sanding sequence here. For the grit-by-grit, coat-by-coat walkthrough, read how to sand and finish unfinished hardwood on site, which covers the on-site finishing process in detail so you know what you're signing up for.
What Unfinished Engineered Hardwood Costs
Expect two separate costs: the material and the site labor. Materials for unfinished engineered run roughly $3 to $9 per square foot, driven mostly by wear-layer depth and species. Site labor to fasten it down and then sand, stain, and seal often adds another $6 to $14 per square foot, because that's several skilled days of work, not one.
Cost per square foot for unfinished engineered hardwood, split into materials and the site labor to fasten, sand, stain, and seal.
Two things push those numbers up. Basement and slab jobs cost more than open rooms because of extra moisture prep and glue-down work, and stairs run higher still because each tread is slow hand work. A wide-open living room is the cheap end of the range; a finished basement or a staircase is the expensive end.
For a deeper line-item breakdown before you sign anything, see the engineered hardwood flooring cost numbers to check on a quote.
Which Should You Buy?
Buy unfinished engineered hardwood only if two things are both true: you want a custom stain color, and the floor is going somewhere solid wood can't, like over a slab or below grade, and you're hiring a skilled finisher. That's the narrow lane where it beats everything else. For any other room where slab moisture isn't a factor, it's worth stepping back and working through the guide to solid vs. engineered hardwood by species before you commit to either.
If you want the wood look over concrete but don't care about a one-off color, buy prefinished engineered. Tougher finish, faster install, far less that can go wrong. If you're above grade on a wood subfloor and want maximum sanding life over the decades, solid unfinished is the play. And if you're a DIYer eyeing the site-finishing to save money, be honest with yourself: fastening the boards is doable, but the sanding is where a thin veneer gets destroyed, and that's the part I'd hire out every time.
Whatever you land on, vet the maker. A thin veneer on a soft core is the floor that fails, so it's worth knowing the engineered hardwood warning signs and brands to avoid before you spend.